...
1. Check the Min checkbox and change the value to -0.2.
2. Click on the Apply button and Close the window.
3. Open the Preferences window, and go to the Postprocess --> Contour fill and lines branch. There, set the Color map to 3D Anaglyphs 2, and click Apply.
4. The Stereoscopic visualizatoin visualization settings, as well as other advanced ones, are centralized in the View --> Advanced viewing settings... window. Open it.
...
As it has been pointed out, all the visualization features of GiD can be applied both to the pre and the postprocessing part of GiD.
Let's see an example of useful shadows to demonstrates better depth perception of the created stream linesstreamlines: which ones are near the ground and which ones not.
- Open the pyramid.gid model, and switch to the post-process mode in GiD.
- Select Files --> Import --> Stream lines... and choose pyramid.flavia.streams.msh located in pyramid.gid.
Using shadows, the height of the stream lines are better perceived than without.

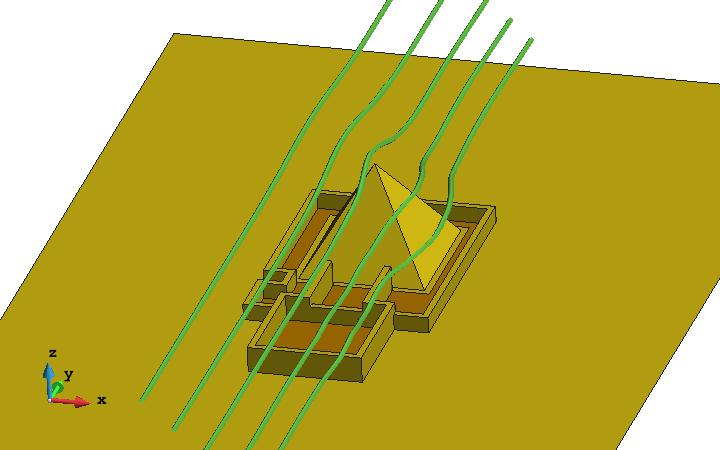
stream lines without shadows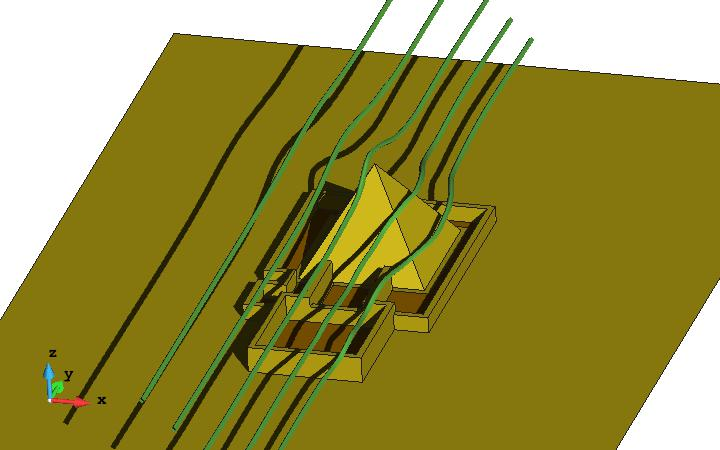

shadows helps to perceive the relative position of the stream linesstreamlines
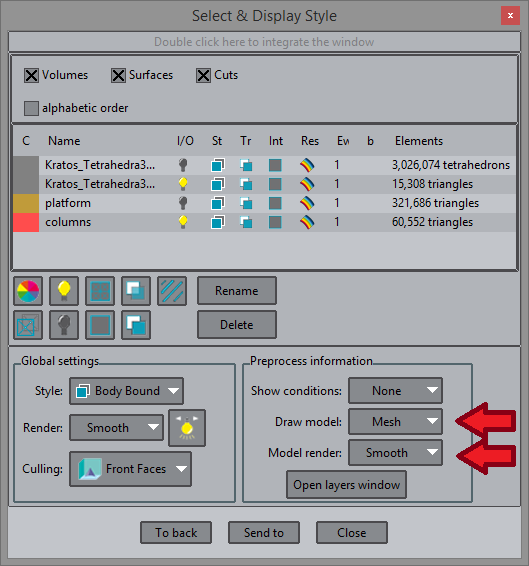
Advanced visualization tools: Combining pre and postprocess models
...
- open the platform_small.gid project,
- go to postprocess,
- select the menu Geometry --> Extract boundaries;
- select All lines display style;
create a new set by selecting elements of the platform (using the Send to --> new set option of the Display style window), change its colour and switch it off;
- create a new set by selecting elements of the columns (using the Send to --> new set option of the Display style window), and change its colour;
use culling to show the interior of the volume:
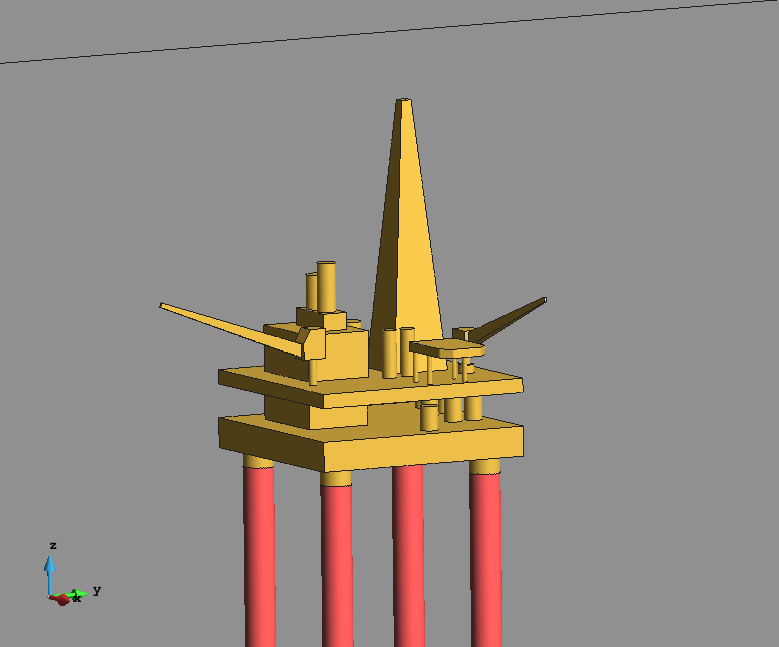
The single triangle mesh of the volume boundary has been separated in the grey box triangle set, the golden platform and the 'middle red' columns.
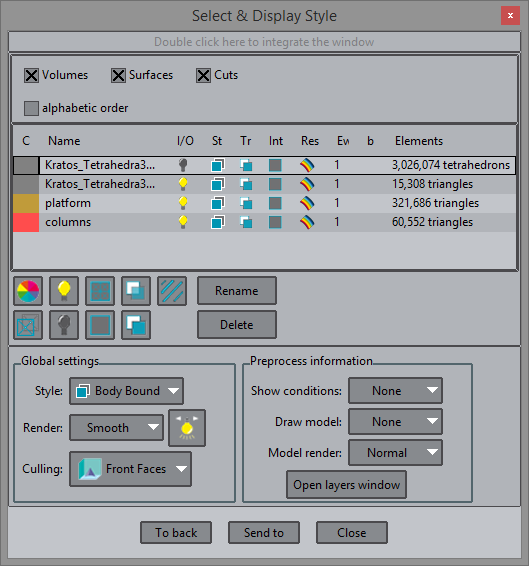
Listing the new created mesh sets. On the right, enabling the culling of the front faces.switch all surface sets on and enable the culling of the font faces.
switch off the platform set, enable the visualization of the preprocess mesh, using the smooth render:
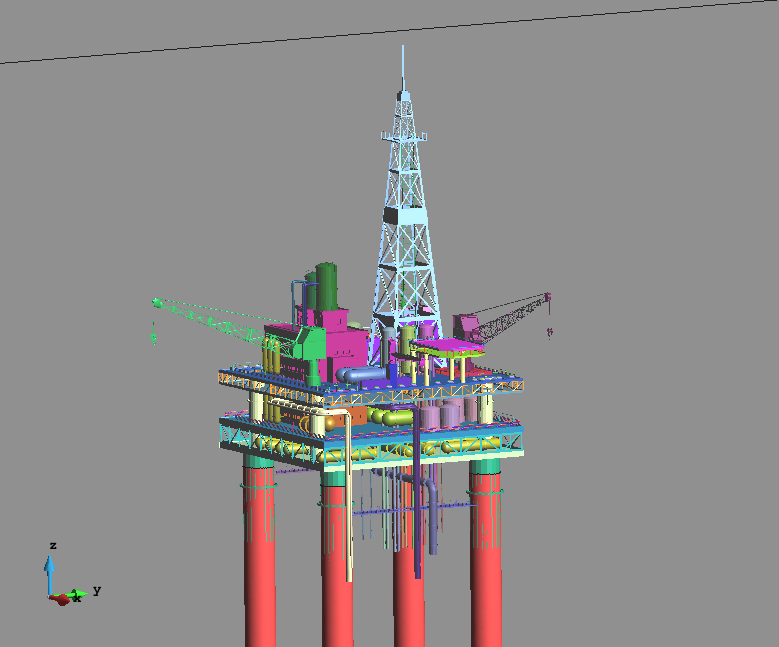
Visualizing both the preprocess and the postprocess mesh
Enabling the visualization of the preprocess mesh, smooth render
- Now set the 'grey box' mesh style to boundaries, and turn off the culling.
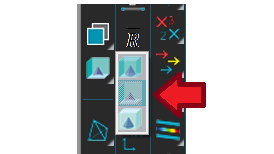
Do an iso-surface of DISTANCE with value 0.0, and make its color blue-sky:
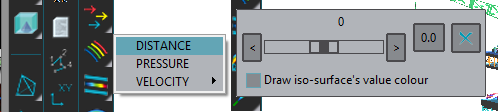
Creating the isosurface with value 0.0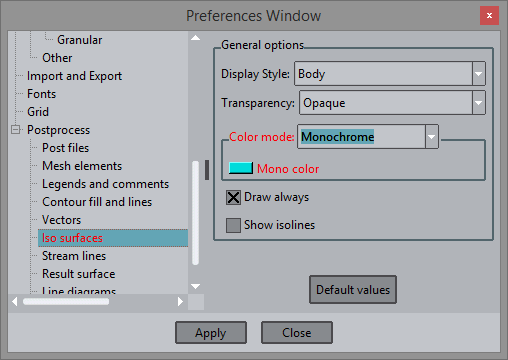
Setting the iso-surface colour to blue.
Animate the result with the Windows --> Animate window
...