...
- Use indexed binaries: will speed up the access of the results on huge file, more over if the user access them randomly. It onlly only applies to raw binary result files, not to hdf5 gidpost files.
- Use indexed results information: stored in the indices, will speed up the loading of huge results files, as the results information, except values, are already stored in the index files.It onlly only applies to raw binary result files, not to hdf5 gidpost files.
...
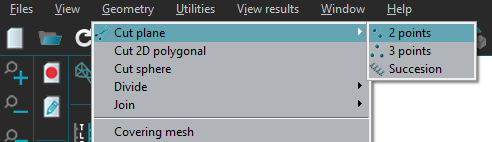
4. Do Cut plane --> 2 points, (after clicking the 1st point, you may press the Alt key to create a cut plane complettely completely horizontal):
5. Animate the result from step 1 to step 27 twice.
...
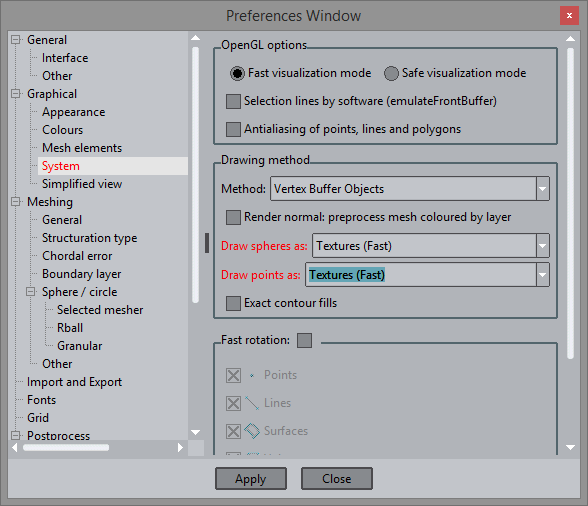
- Safe visualization mode: GiD will render the model and mesh using only the CPU, i.e. will not use hardware acceleration of the graphics card. Using this option some artifacts may dissapear disappear but models and meshes will be drawn slower. In MS Windows: the OpenGL version used is 1.1 and some features will be disabled. In Linux: this mode can also be enabled using the gidx script in a console or terminal window. The OpenGL version used is 3.0.
- Fast visualization mode: GiD will use the hardware acceleration provided by the driver and the graphics card to accelerate the visualization of the models. If some problems appear, please update your driver or use the Safe visualization mode.
...
Drawing method: ( can be adjusted at Utilities --> Preferences --> Graphical --> System)
Several algorithms are used in GiD to draw meshes faster, but which rely on the underlying hardware at different levels. Faster methods needs good hardware graphics and good driver support, slower methods are safer and indepented independent of the graphics capabilities available.
...
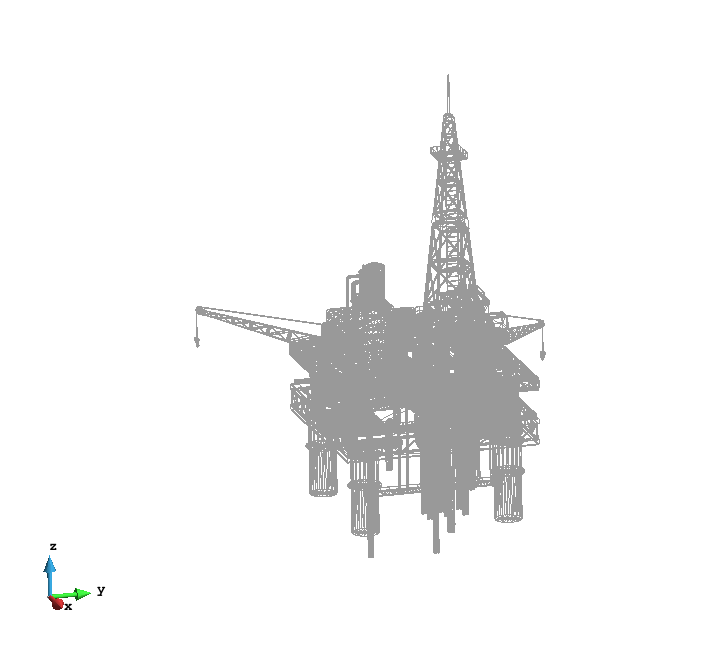
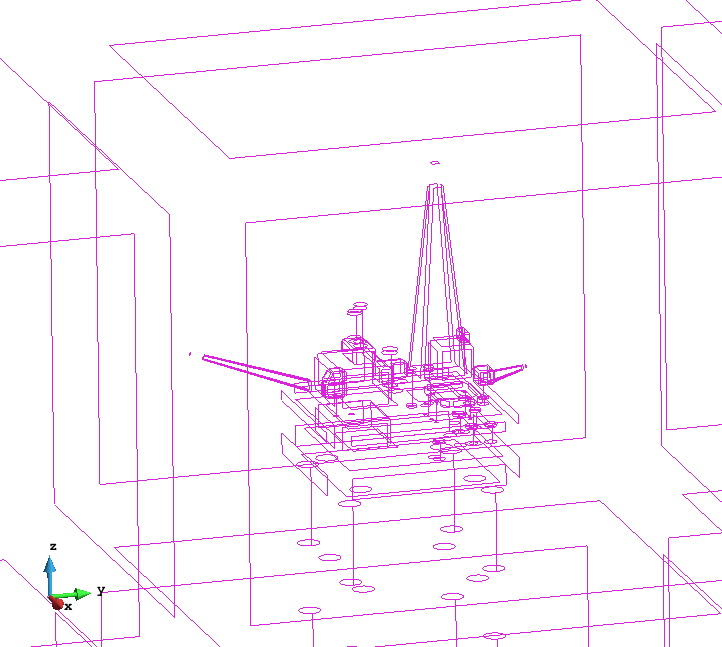
3. rotate the model, use the scroll wheel of the mouse to zoom in and out and check the switching between the mesh and geometry views, and back, of the model:
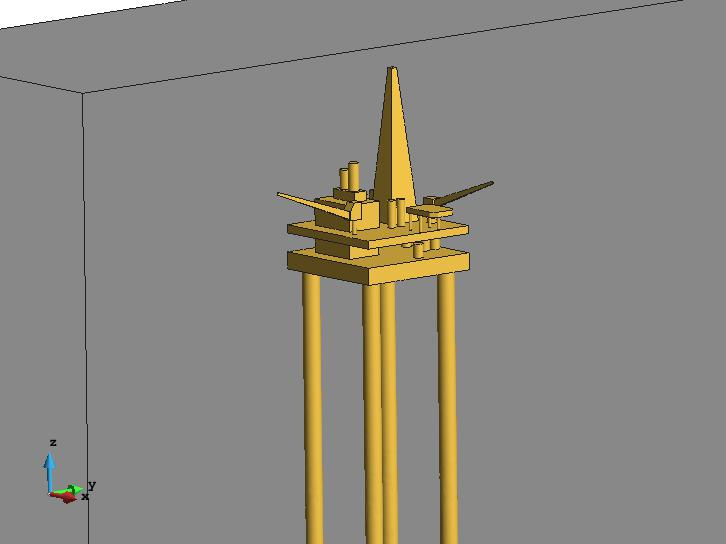
Mesh view of the platform model |
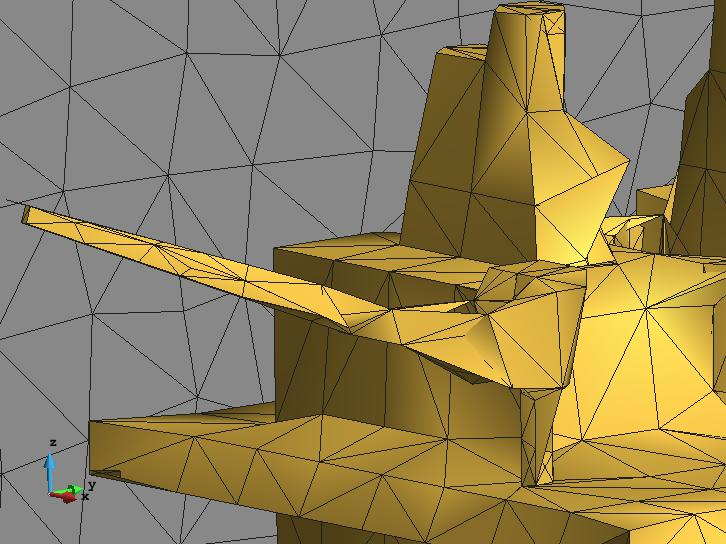
'Fast rotation' view, showing only the surfaces of the model while rotating it |


...
4. go to postprocess;
5. enable only the Lines checkbox in the Preferences --> Graphical --> System --> Fast rotation mode section;
6. rotate the model, use the scroll wheel of the mouse to zoom in and out and check the switching between the mesh and geometry views, and back, of the model:
|
|


...
10. switch on the 'Surfaces' checkbox in the Preferences --> Graphical --> System --> Fast rotation mode section;
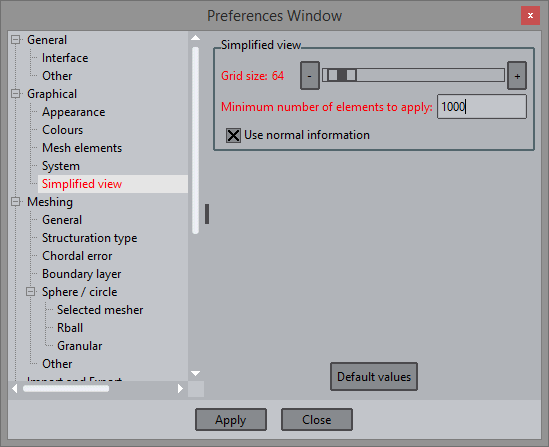
11. in the Preferences --> Graphical --> Simplified view section, change the Grid size to 64 and the Minimum number of elements to apply to 1000;
12. rotate the model, use the scroll wheel of the mouse to zoom in and out and check the switching between the mesh and geometry views, and back, of the model:
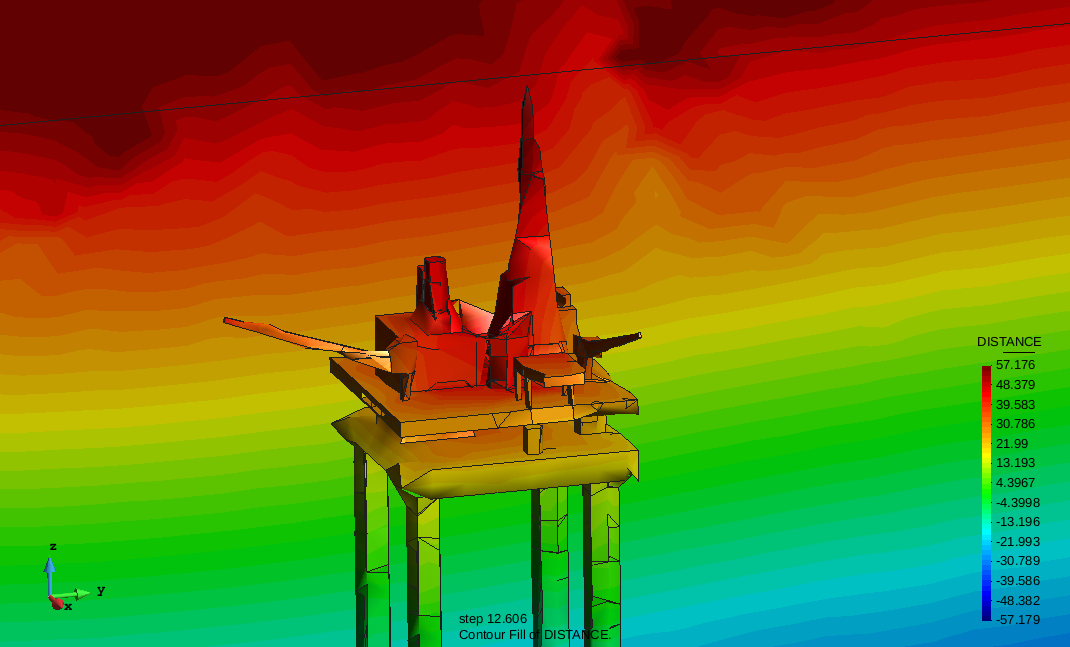
Note: When a result is displayed, the simplified view interpolates the original result into the simplified mesh. |
|


...
- Grid size: Size of the vertex clustering grid used to simplify the mesh: a smaller grid size generates a coarser mesh, a bigger grid size generates a finer mesh.
- Minumum number Minimum number of elements to apply: minimum size of the mesh which will trigger the mesh simplification process. Bigger meshes will be simplified, smaller ones not.
...
- load the model;
- go to postprocess;
- select the menu Geometry --> Extract boundaries;
- select All lines display style;
create a new set by selecting elements of the platform (using the Send to --> new set option of the Display style window), and change its colour;

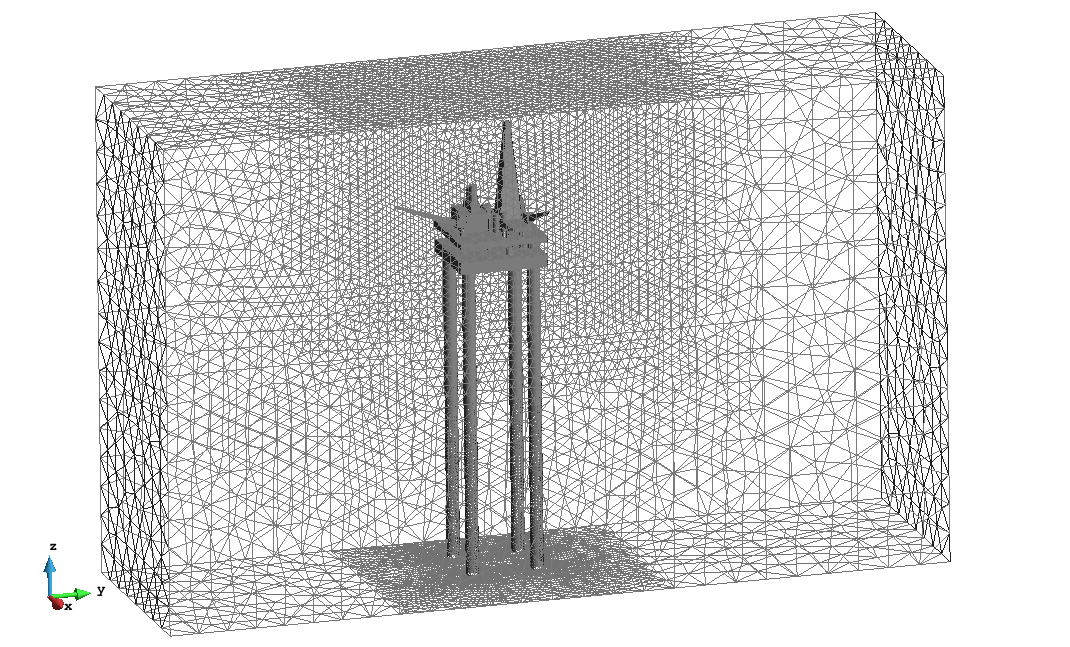
The single triangle mesh of the volume boundary has been separated in the grey box triangle set and the golden platform.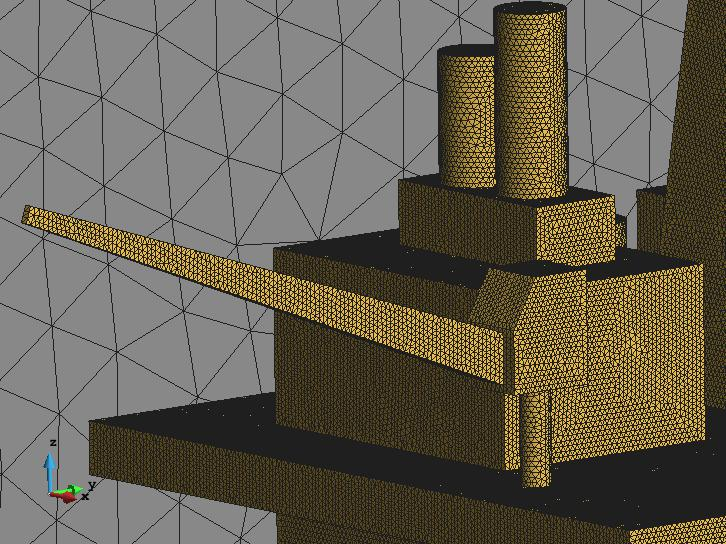

Zoom view showing the refined triangle mesh used to model the platform.- in the Preferences --> Graphical --> Simplified view section, change the Grid size to 64;
- enable the Fast draw mode by clicking on the
 icon,
icon, - the icon will change to
 , click on it to change back to the original full-detailed mesh view;
 - in the Preferences --> Graphical --> Simplified view section, change the Grid size to 640;
- enable the Fast draw mode by clicking on the
 icon,
icon, - the icon will change to
 , click on it to change back to the original full-detailed mesh view;
 - Note the difference in the details:
|
|


...
In Preprocess these options are accesible accessible through Preferences --> Graphical --> System inside the Drawing method box.
  Preprocess drawing options for Points and spheres Preprocess drawing options for Points and spheres | 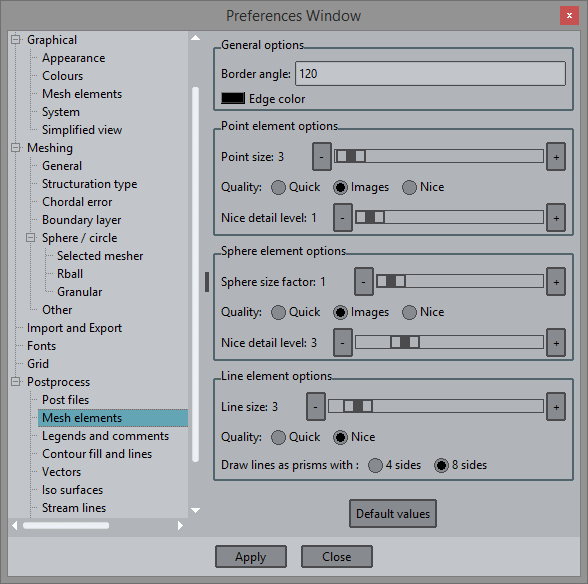 Postprocess drawing options for Points and spheres |
...
- Quick: points, spheres and circles will be drawn as big dots.
- Nice: a triangle mesh, between 4 and 630 triangles big, is used to drawn each sphere and circles for a nicer quality.
- Images: selveral several images can be selected and will be used to draw on the point elements, using the point coordinates as the centre of the images. For a certain point, at each redraw the next image of the collection will be used.
- Nice detail level: level of detail used to draw the points, spheres and circles in Nice mode. Higher detail level will draw more triangles for each sphere or circle.
...