This course is focused in exploring the advanced meshing features present in GiD. It is recommended to follow the basic meshing course before this one.
...
Switch layer vol on again.
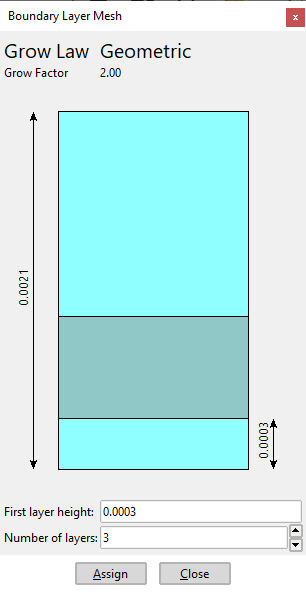
Select Boundary layer --> 3D --> Assign in the Mesh menu, and select the volume of the model. Then click Escape, and the Boundary Layer Mesh window should appear:
|
|
Generate the mesh (<Ctrl>-g) with general size equal to 0.0175, and using the meshing parameters from the model (check the corresponding checkbox in the window appearing when selecting generate mesh).
...
In this section, some options of the embedded mesher are shown. The model gid_embedded_example_lamborgini.gid is used in this course, which is a geometrical model of a car inside a control volume, as shown in the following figure:
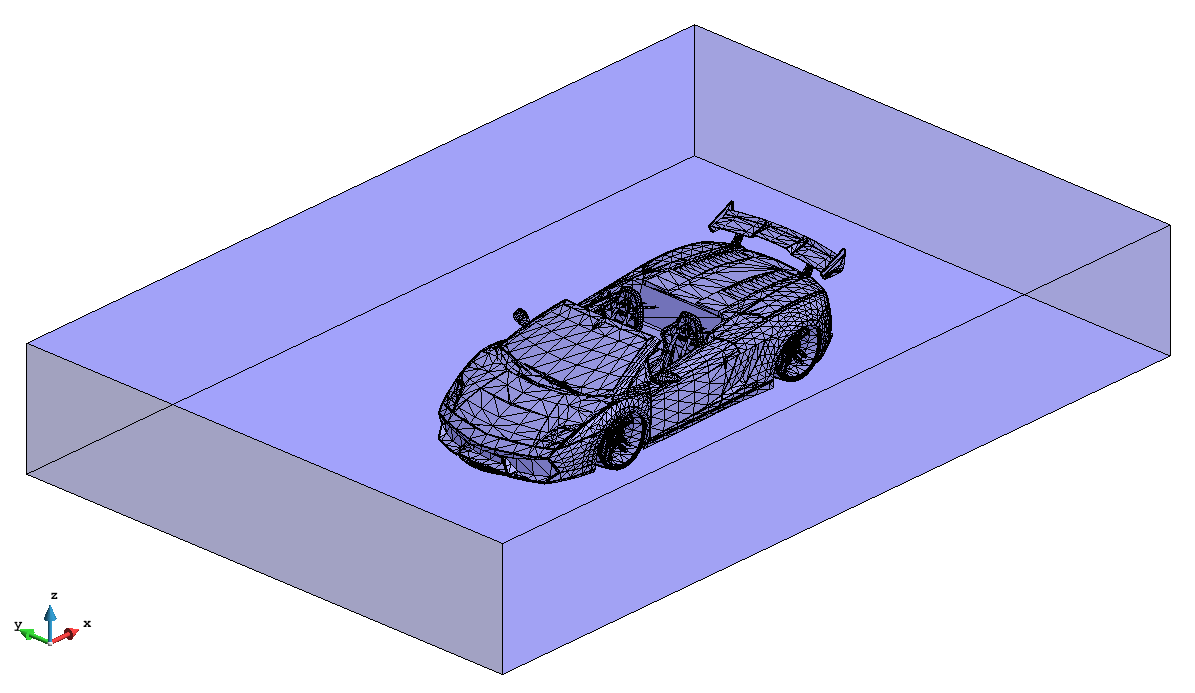
View of the model used in this course.
This embedded model consists in a prismatic volume (the calculation volume), and the embedded region formed by the surfaces defining the car. Note that the embedded region must enclose a part of the space, but it is not needed to be watertight. As it can be seen in the following figure, some of the higher entities of the lines of the car are not 2 (which is the condition to be watertight):
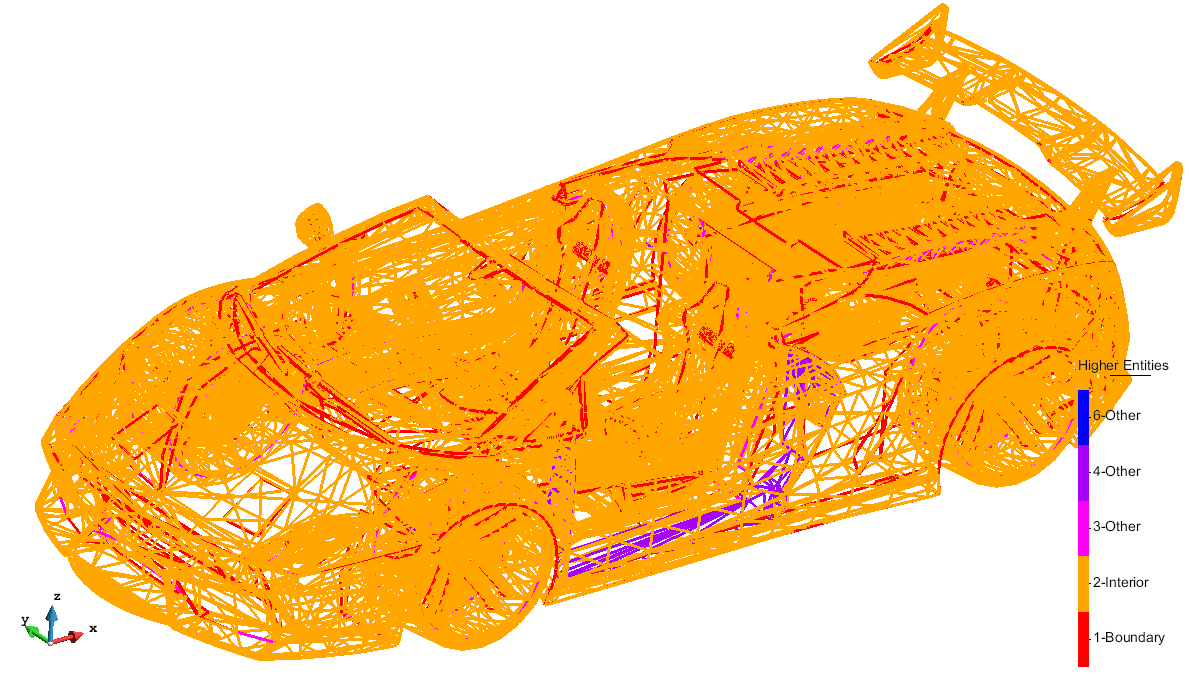
Higher entities of the lines belonging to the surfaces defining the car.
First of all, select the Embedded mesh type in the Meshing --> General branch of the preferences window, and a size transition factor of 1. in order to be faster generating the mesh.
Then, generate the mesh of the model (Mesh --> Generate), using a general mesh size of 20. The following mesh should be generated:
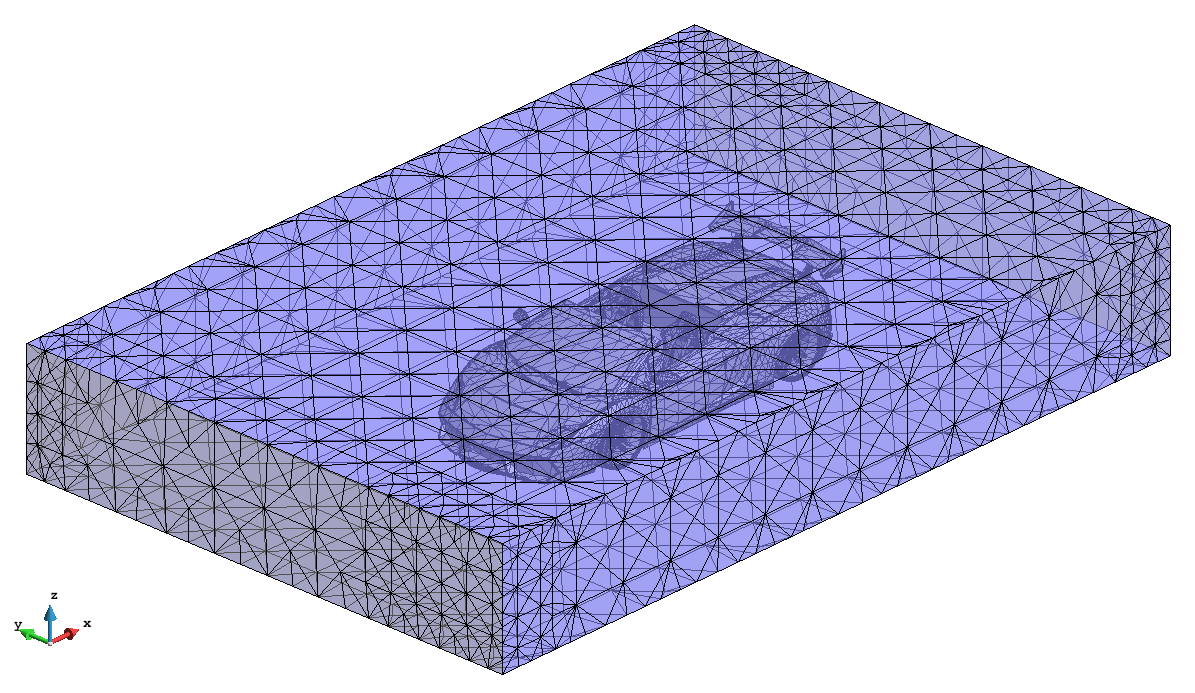
View of the mesh generated
...